
decimal3d:instructions_for_use:customer_walkthrough
Electron Block Walk-through Tutorial
This walk-through is intended to be an easy to follow step-by-step guide for completing a “standard clinical electron” set-up. It covers all steps involved in designing and ordering an electron aperture from .decimal. The intent is that after completing this walk-through you will have gained the knowledge and understanding necessary to complete a clinical electron set up utilizing the decimal3D App (it should be noted that the values provided herein are not intended to represent clinical guidelines and should in no way be considered a recommendation for values that are appropriate for clinical use).
- Have the physician outline the desired treatment area on the patient's skin using a marker or pen with high color contrast
- Bring the patient to the simulator or treatment room and place them in the desired treatment position
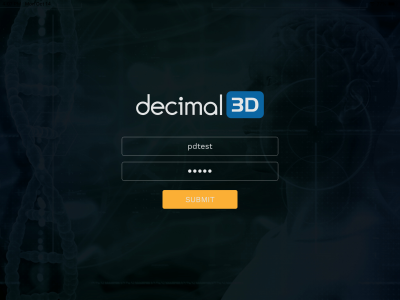
- Open the decimal3D app on the iPad and login with your unique username and password. The username and password is the same as what is used to sign in to p.d.
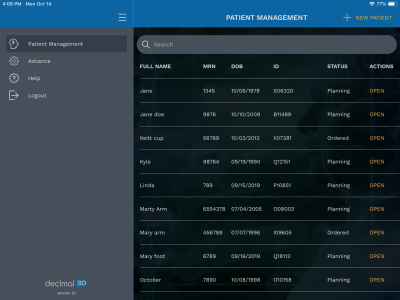
- Select New Patient in the top right hand of the Patient Management Screen
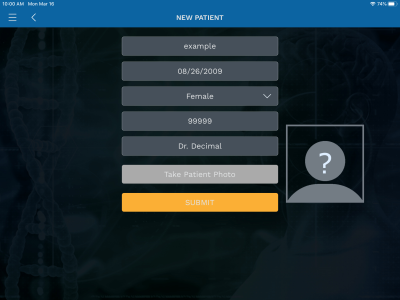
- Enter the Patient Name
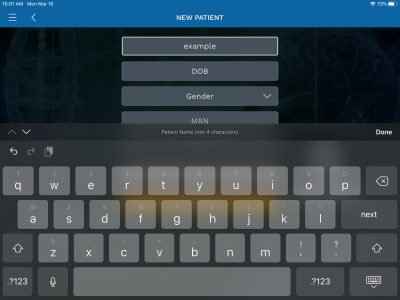
- Enter the Date of Birth

- Select the patient Gender from drop down
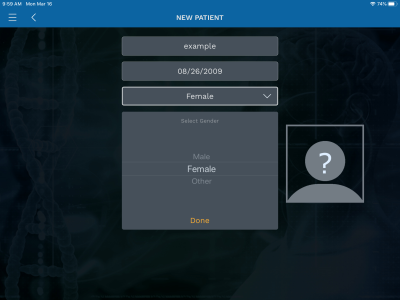
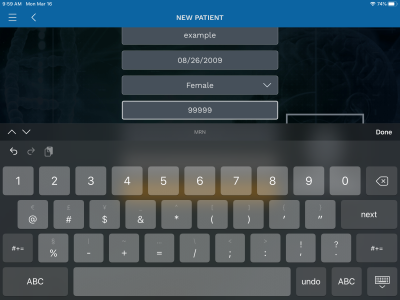
- Enter the MRN (Medical Record Number)
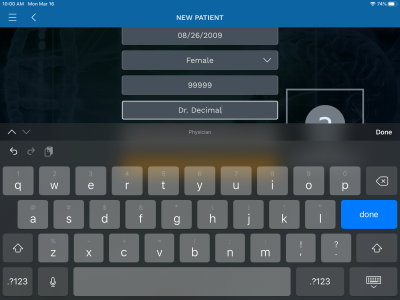
- If desired, enter the Physician name
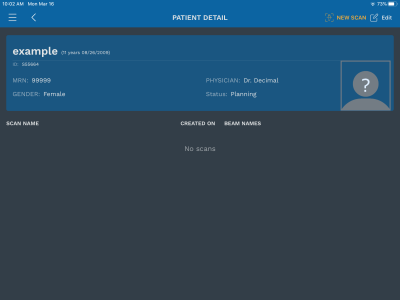
- Press Submit and the patient record will be created
- In the top right hand corner select New Scan
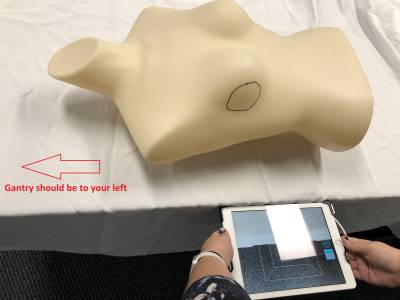
- Before starting the scan, you must align the iPad to the treatment table so that couch and gantry angles can be accurately determined
- To perform this alignment, simply hold the iPad against the edge of the treatment table (with the gantry toward YOUR LEFT and the iPad parallel to the floor) and press the Align button as shown in the images below
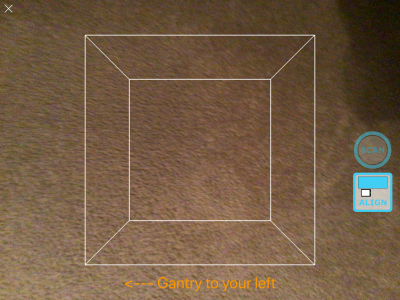
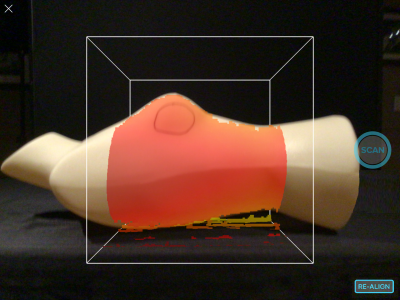
- You are now ready to scan the patient. Focus the scanner on the area to be scanned. Adjust your distance from the patient to ensure the entire area to be scanned appears in RED (red indicates an ideal scan distance, yellow is slightly too far away, and if no color is shown, you are too close to the patient). The ideal distance is about half a meter (18 to 24 inches).
- The box shown in the app can also be adjusted to control the size of the area to be scanned. Only areas fully within the box will be captured during the scan, so you can use a two-finger pinch to shrink or expand the box as needed for the field size at hand.
- Once you are correctly positioned, press the Scan button to begin capturing data.
- While the scan is active, the area that has been fully captured will appear white. You should continue scanning until the entire desired area is shown in white. For relatively smooth or flat areas, the scan can be obtained within 1-2 seconds without moving the iPad, but for larger or highly curved areas, you may need to slowly move or rotate the iPad to capture the entire patient surface.
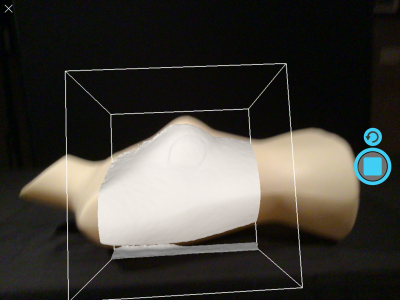
- Press the Scan button again to complete the scan.
- The decimal3D app now automatically begins processing the scan depth and color data to produce the colorized 3D model
- Once the scan is done processing review the resulting model
- If the scan is acceptable select Accept Scan
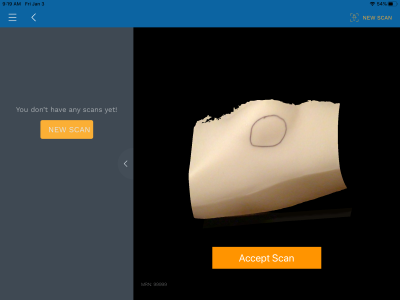
- If it the scan is not acceptable select New Scan button on the left-hand side to discard this scan and start a new scan
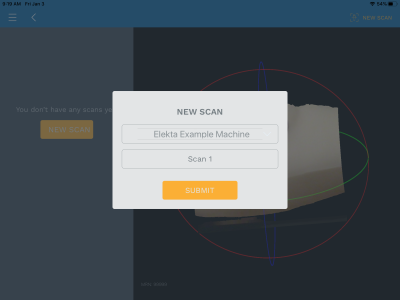
- Choose the desired treatment machine from the scroll selector and edit the name of the scan if desired (by default scans are labeled with sequential numbers, e.g. Scan 1). Scan names are used only as a convenience for users to locate scans within a patient and are not used for any other purpose in the application. Press Submit when done.
- Your scan is now saved and you are ready to digitize the treatment field
- Select New Contour
- You should now rotate, pan, and zoom the display to provide a good view of the treatment field
- Rotate by using a single finger drag in any direction
- Pan by using a two finger drag in any direction
- Zoom by using a two finger pinch motion anywhere in the display
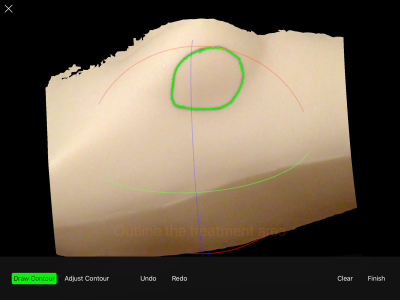
- Now you will trace the physician drawn treatment field directly on the 3D patient model using either the Apple Pencil or your finger
- To start drawing dwell on the scanned image at the desired start point for a full second, then continue drawing the entire treatment area as a single closed contour. Continue drawing until the contour is closed back at the original start point (the contour will change colors to indicate it is now complete). If you lift the pencil/finger before closing the contour you can continue by dwelling again for one full second at a point near where you left off with the previous drawing and then continuing onward.
- Once you have closed the contour, the application will automatically switch to the Adjust Contour mode. In this mode you can move points by placing the Apple Pencil or finger on a point, dwelling for one second, and then sliding it to a new position. There are also tools to undo edits and clear all to start again if needed.
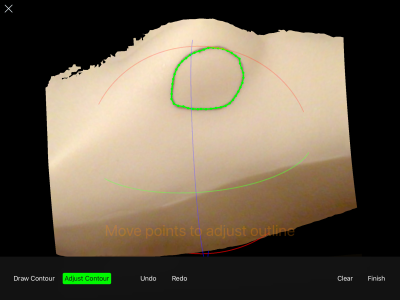
- Once you're satisfied with the contour select the Finish button. Provide a name for the contour (or leave the name at the default) then press Submit to save the contour.
- You are now ready to create your electron aperture by specifying the treatment beam parameters (the application will automatically enter the beam creation task when the contour is completed).
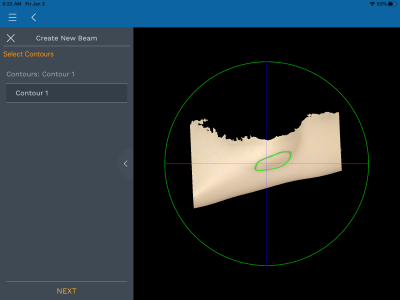
- The first step in defining the beam is to select the contours to use for the aperture projection (note the contour is automatically selected when this task is started). Press the Next button to accept the contour selection.
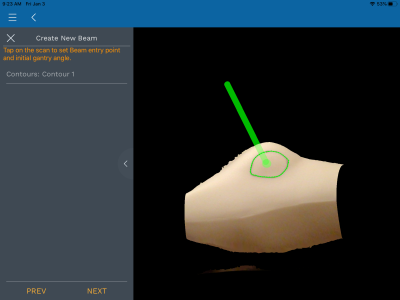
- Now you will set the beam entry point by tapping on the patient model at the desired location. Tap again to change the location if needed, then press Next to accept this position
- You are now presented with all the remaining parameters needed to fully define the desired treatment beam.
- These include: SSD, Applicator Size, Gantry Angle, Couch Angle, and Collimator Angle (note: as of v1.7 SSD now includes a second input that allows SSD setting to 0.1cm resolution)
- Adjust the parameters as needed to meet the clinical needs of the patient at hand.
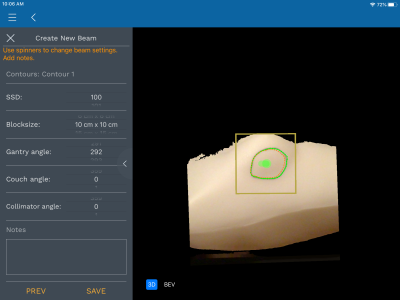
- You may also wish to rotate the model to ensure an appropriate treatment angle has been selected (and to check for possible collisions of the applicator with the patient). You can also switch to a Beam's Eye View (BEV) where you can view and measure the block shape (note the BEV shape is projected to the isocenter plane).
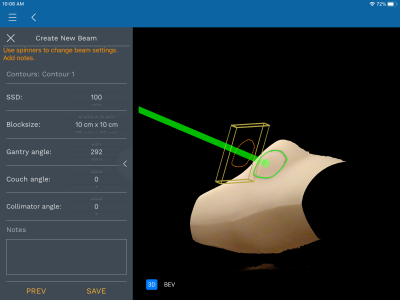
- Once you're satisfied with the beam and block (cutout) press the Save button. You will be prompted for a beam name. This name will be engraved on the actual cutout during manufacturing, therefore you should provide a meaningful beam name before pressing Submit.
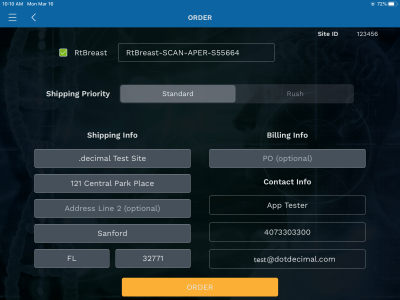
- You are now ready to order the cutout by pressing Order in the top right hand corner.
- All available cutouts are automatically selected for ordering and the engraving data for each cutout is shown at the top of the order page.
- Select a shipping priority, review the Shipping and Billing Address information, and press Order to securely transmit your order information to .decimal for the cutout to be manufactured.
- Wait for 30-60 seconds to receive a confirmation of successful order.
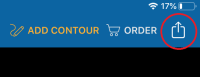
- Once your order has been placed, the DICOM Export option will become available. Simply click the “Send” icon in the top right corner (see red circle below) and your treatment device information will be sent to your preconfigured DICOM receiver via a DICOM RT Plan file.
- If you encounter any difficulties or problems contact our customer service team at 1.800.255.1613


decimal3d/instructions_for_use/customer_walkthrough.txt · Last modified: 2021/07/29 18:23 by 127.0.0.1