
decimal3d:instructions_for_use:patient_setup
Patient Setup Photo Tutorial
This tutorial is intended to be an easy to follow step-by-step guide for using the “Patient Setup” photo feature. It covers all steps involved in taking, managing and exporting patient setup photos. The intent is that after completing this tutorial you will have gained the knowledge and understanding necessary to fully use this feature.
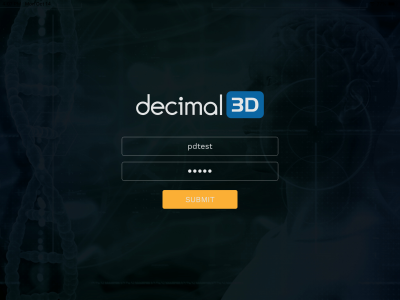
- Open the decimal3D app on the iPad and login with your unique username and password. The username and password is the same as what is used to sign in to p.d.
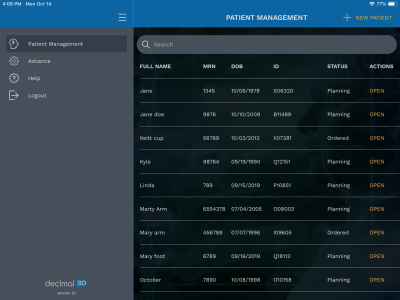
- Select New Patient in the top right hand of the Patient Management Screen
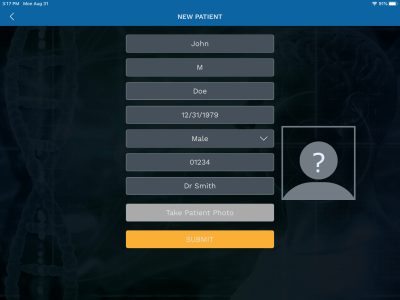
- Enter all of the requested information for a patient and press submit
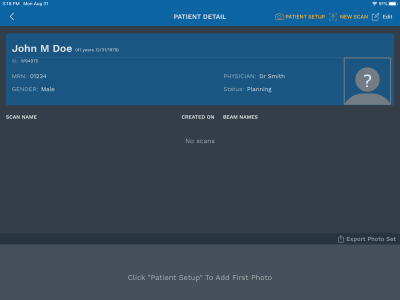
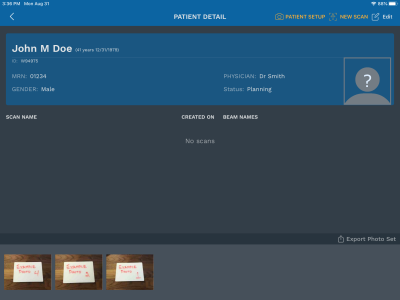
- From the patient profile, in the top right, select Patient Setup
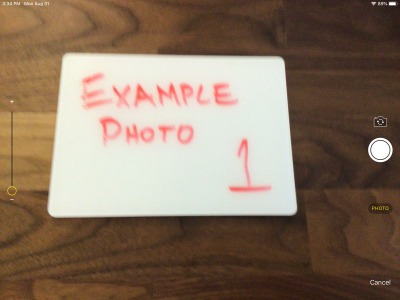
- Take a photo (note: this specific photo has nothing to do with patient setup)
- Select Use Photo to save the taken photo to a patient

- Repeat the Patient Setup process for as many photos as you'd like until you have more than one:
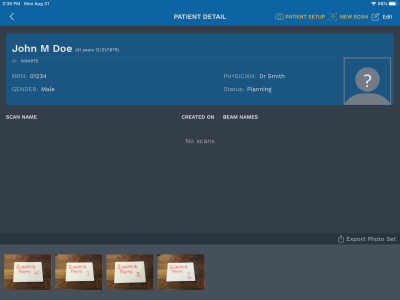
- To view a photo in full screen, select any photo
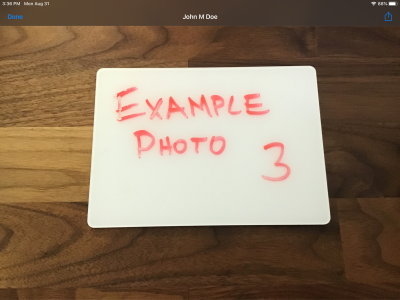
- Press Done to return to the patient details screen
- To delete any photo, long press the photo
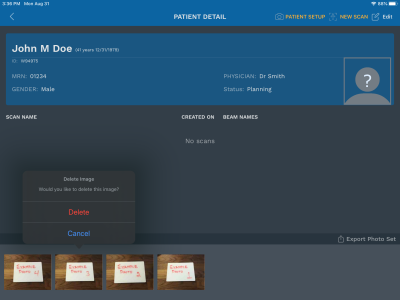
- Select delete and the photo will be removed
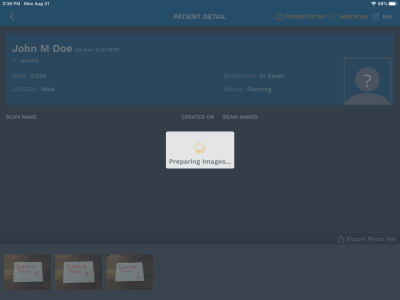
- To export the photo set, select Export Photo Set and wait while your photos are prepared
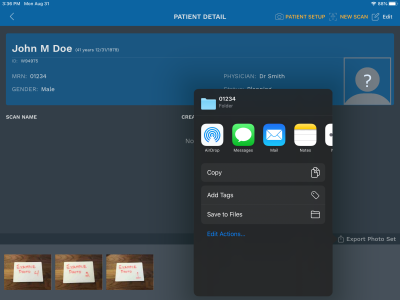
- With an SD Card plugged into your iPad, select Save to Files
- Select the SD Card from the list of locations and press Save
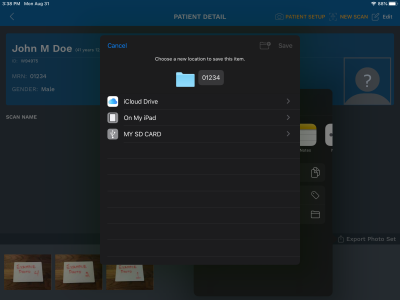
- If there are no errors, you will be returned to the patient detail screen.


decimal3d/instructions_for_use/patient_setup.txt · Last modified: 2021/07/29 18:23 by 127.0.0.1