Table of Contents
ElectronRT DICOM Receiver for Patient Import
The decimal ElectronRT application supports importing DICOM patients via a DICOM listener/receiver. This guide details the process for enabling and configuring this method of DICOM patient import into the eRT application.
DICOM Receiver
The following guide details how to download, install, and configure the ElectronRT DICOM Receiver to automatically accept and import files into the ElectronRT application.
Download and Installation
- Download the ElectronRT DICOM Receiver via contacting .decimal for a secure download (note: future versions of eRT will include a DICOM receiver packaged with the application).
- Extract the ElectronRT_dicom_receiver.zip file to an appropriate directory of your choosing (e.g.: C:\ElectronRT_DICOM_Receiver)
- Edit the receiver_config.json file to set the following fields:
- local_ae_title: The name of the receiver (Note: this is not explicitly enforced, it's only for reference)
- local_port: The local port for the receiver to monitor (common DICOM ports include: 104, 2761, 2762 and 11112)
- timeout: The timeout, in seconds, for which to wait for files/connections. The default value is an appropriate setting. Note, that increasing this value can cause files from multiple patients to be inappropriately batched together when received simultaneously).
- storage_location: This is the directory in which the receiver will save all dicom files as they are received and processed. The ElectronRT app will need to access and monitor this directory as well, so typically this is a shared network location (refer to Importing a Patient from a DICOM Receiver for more details on this process within the eRT application).
Running Modes
The ElectronRT DICOM Receiver has two options for running:
1. Running as a Windows Service (recommended)
The following scripts can be used to add, remove, or restart the Windows Service for the ElectronRT DICOM Receiver.
Note:
Administrator permissions are required to modify Windows Services, so each of the provided service management scripts below must be run as an administrator.
- service_install.bat
- Installs the ElectronRT DICOM Receiver as a Windows Service
- service_uninstall.bat
- Removes the ElectronRT DICOM Receiver from the Windows Services
- service_restart.bat
- Restarts the Service if changes are made to the configuration file
2. Running as a Stand Alone Application
The ElectronRT DICOM Receiver can be run as a stand alone application. This option does not require administrative privileges.
- Open Windows Explorer to the ElectronRT DICOM Receiver installation directory
- Run the
ElectronRT DICOM Receiver.exeto start the receiver as configured
Notes:
- Any time the Computer is restarted (e.g.: windows updates) the stand alone application will need to be manually run again.
- Any time the receiver_configuration.json file is changed, the application will need to be manually restarted to load the new configuration.
ElectronRT DICOM Monitoring and Patient Import
The following items detail the steps required to configure and use the patients received from the ElectronRT DICOM Receiver within the ElectronRT application:
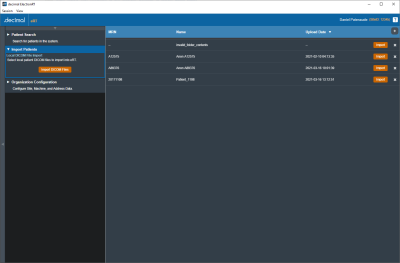
- Users must set the DICOM Import Monitoring Directory within the Site Configuration's DICOM Settings block that corresponds to the
storage_locationfield set for the ElectronRT DICOM Receiver. - Once the monitoring directory has been set the Importing a Patient from a DICOM Receiver section provides details how to import patients received from the ElectronRT DICOM Receiver.
Note:
Patient files stored temporarily within the DICOM Import Monitoring Directory are unencrypted DICOM files that may contain PHI. Please ensure this folder is located on your facility's secured network and accessible only by approved staff.

