planning:userguide:tutorials:importing
This is an old revision of the document!
Importing Patient Data
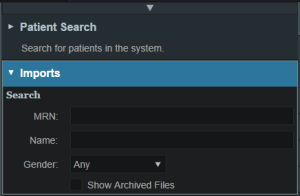
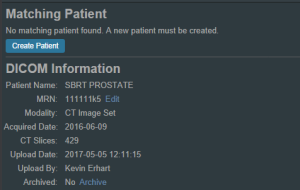
Now that a patient has been uploaded from DICOM to the Thinknode RKS, the Planning App should recognize that new patient files are available to import into a Planning patient.
- Open the Astroid Launcher and launch the Planning App from your realm
- Ensure that the MRN is correct
- Please note that editing the MRN may not be available for clinical realms
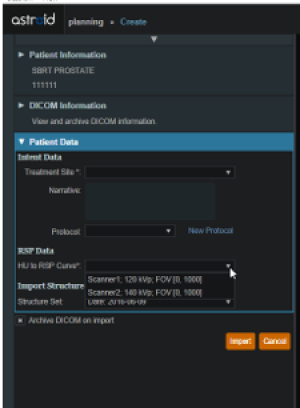
- Fill in the requested Patient Intent, taking care to select the appropriate Treatment Site as this selection contains the template information that will be used during structure set import
- The corresponding structure set (SS) file to import with these images will automatically be selected. The structures will show up below the Patient Data box in the Import structures box (note that the available choices will be automatically filtered based on the structure set DICOM UID information)
- Here you may choose whether or not to import each structure by checking or unchecking the box beside each structure name
- Matched, Assigned, and Custom structures are designated with corresponding tags at the end of the structure name in the structure list
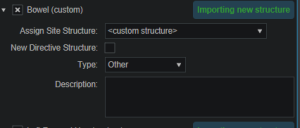
- You may only edit structures that are shown as Custom, which indicates the name did not exactly match a directive structure from the Treatment Site template selected above
- For all custom structures, the type is by default set to “Other”, unless it contains the letters “TV” (as in PTV or CTV), in which case it is assigned the type of “Target”; the type may be changed here if needed
- Alternatively you may Assign a Custom structure to a directive level template structure using the provided drop down menu (this is useful when structure names contain typos or contour names otherwise do not match your standard site protocols)
- Once all structures have been selected, assigned, and edited as needed, click the Import button to create the patient and import the CT Images and Structures into it
- The patient is now created and all available data has been imported
- Click on the Back to Import button to return back to the Imports task
planning/userguide/tutorials/importing.1498583424.txt.gz · Last modified: (external edit)


